Alright, let's cut to the chase. You've been eyeing that launch monitor, dreaming of those virtual rounds, and now you're thinking about where to hit the damn ball. You're probably looking at enclosures, and let me tell you, this is NOT the place to skimp or half-ass it. I learned that the hard way, like many of my drives into the woods.
When I started piecing together my garage sim, I was so focused on the launch monitor and the projector that the enclosure felt like an afterthought. Big mistake. This isn't just about putting a big sheet up; it's about safety, immersion, and making sure your spouse doesn't banish you to the shed when a shanked wedge ricochets off the drywall.
So, you've got two main routes for an enclosure: the DIY path or a pre-fabricated kit. Both have their merits, and both can lead to a great setup, or a royal headache, depending on your space, budget, and willingness to get your hands dirty.
Here’s a quick rundown of what we’re talking about:
| Feature | DIY Enclosure (e.g., EMT Conduit) | Carl's Place Pro Enclosure (or similar pre-fab) |
|---|---|---|
| Price (approx.) | $800 - $1,500 (materials only) | $1,800 - $4,000+ (depending on size/screen) |
| Setup Time | 1-3 full days (measure, cut, assemble) | 3-6 hours (assembly only) |
| Customizability | High (cut to specific dimensions, odd shapes) | Limited (standard sizes, some depth options) |
| Screen Quality | Varies (you choose/source) | Excellent (Carl's Preferred/Premium, engineered) |
| Safety (Frame) | Good (if built correctly, padded) | Excellent (engineered for impact, robust) |
| Looks/Finish | Can be good, often more utilitarian | Very clean, professional look |
| Required Tools | Pipe cutter, drill, measuring tape, ladder | Hex key (usually included), ladder, measuring tape |
Why a Good Enclosure Isn't Just for Show (It's for Safety and Sanity)
Look, I started with a net. A perfectly decent net, mind you, but just a net. For chipping and half swings, it was fine. But the moment I started swinging a driver in my garage, the paranoia kicked in. A slight pull, a tiny slice, and that ball isn't just going into the net – it's going around or over the net and straight into something expensive. Or worse, someone.
An enclosure does three critical things:
- Safety: It contains the ball. All of it. Even those dreaded shanks that would normally sail sideways into your favorite tool chest or, God forbid, your car. The side and top netting/walls are non-negotiable for serious play.
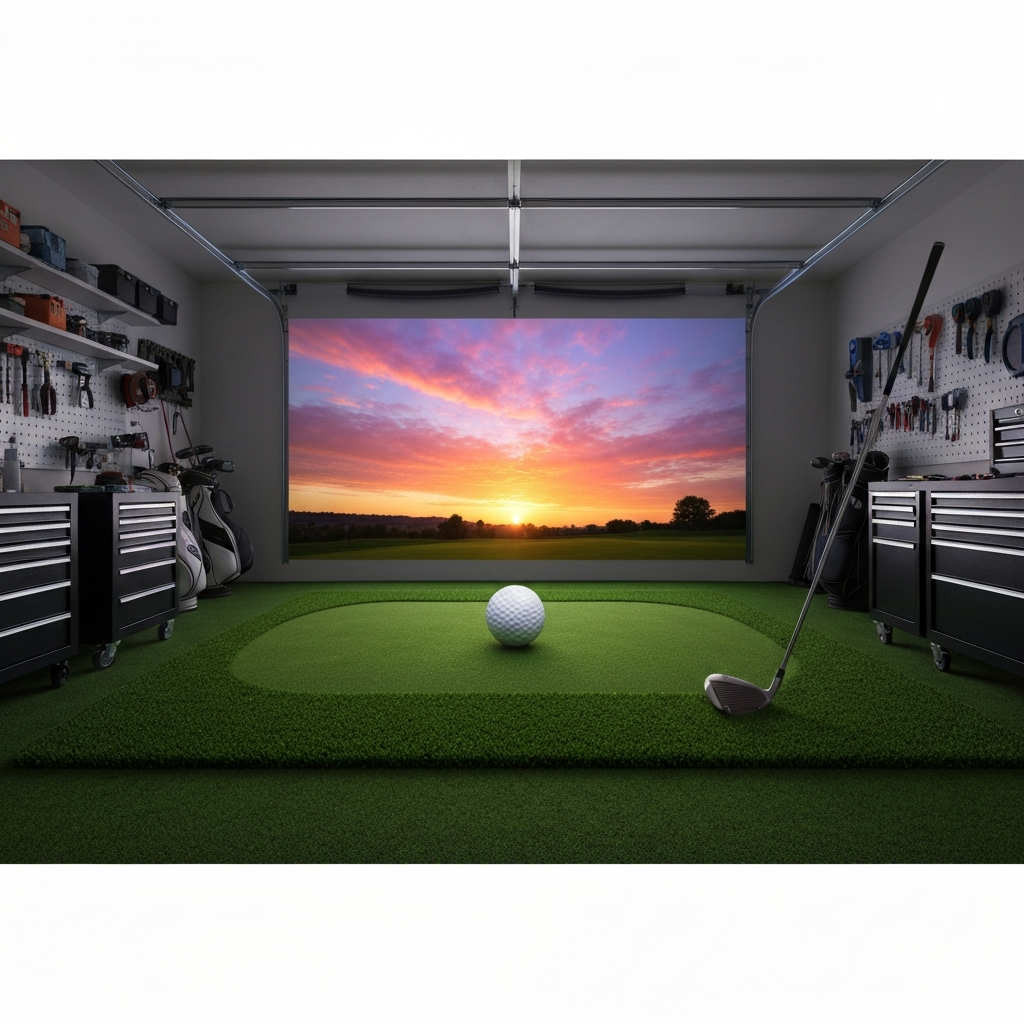
- Immersion: Projecting onto a dedicated screen inside an enclosed space is a game-changer. It makes it feel like you're actually on the course, not just hitting into a tarp. The dark side walls absorb light, making the projected image pop.
- Noise Reduction: A good, heavy impact screen and padded enclosure can significantly dampen the thwack of the ball. My first cheap screen sounded like a shotgun going off with every shot. My current setup is much quieter, which my family appreciates.
Don't make my mistake of thinking, "I'll just be careful." We're golfers. We're not always careful. Sometimes we hit it sideways. You need a system that can handle your worst, most embarrassing mis-hits without causing property damage or personal injury.
The Big Decision: DIY vs. Pre-Fab Kit
This is where the rubber meets the road. Your space, your budget, and your DIY skills will dictate which route is best.
The DIY Route: Build Your Own Enclosure
If you've got a quirky space, a tight budget, or just love the satisfaction of building something with your own two hands, DIY is a fantastic option. I've seen some incredible setups on Reddit where guys have built commercial-quality enclosures for a fraction of the cost. One guy even built his for around $800. That's hard to beat.
Pros of DIY:
- Cost Savings: This is the big one. You can often save hundreds, sometimes thousands, compared to a pre-fab kit.
- Ultimate Customization: This is key for those awkward spaces. If your garage has weird angles, a support beam like that poor soul on Reddit dealing with an 8'2" ceiling, or you just want to perfectly fit your enclosure into an alcove, DIY is your friend. You cut the pipes to your exact specifications.
- Sense of Accomplishment: There's pride in hitting balls into something you built yourself.
Cons of DIY:
- Time and Effort: This isn't a weekend project unless you're a seasoned builder. Sourcing materials, cutting pipes (EMT conduit is common), drilling, assembling – it takes time.
- Learning Curve: You'll need to research designs, joint types, and padding techniques. There's a higher chance of making mistakes if you're not careful.
- Aesthetics: While you can make a DIY enclosure look professional, it often takes more effort than simply assembling a kit. You might end up with a more utilitarian look.
What You'll Need for DIY (and my tips):
- EMT Conduit: This is your structural frame. It's relatively inexpensive and easy to work with. Get a good pipe cutter.
- Fittings/Connectors: The backbone of your frame. Check out places like Tarps.com or Frame Fittings for specialized angle connectors (3-way, 4-way, etc.). Don't skimp on these; they hold it all together.
- Impact Screen Material: Do NOT cheap out here. Even if you DIY the frame, buy a quality screen. Carl's Place sells screen material by the square foot, and their Preferred or Premium screens are worth every penny. More on screens below.
- Side and Top Walls: Heavy-duty black out fabric or moving blankets work well to contain stray shots and absorb light. Velcro or ball bungees are your friends for attachment.
- Padding: Crucial for safety. Pool noodles or pipe insulation wrapped around the frame where the ball could hit are essential.
- Tools: Tape measure, pipe cutter, drill