Alright, let's talk about building a golf simulator in your garage. Because let's be honest, those winter months, or even just a rainy Tuesday, can really screw with your game. I'm Mack, a 12-handicapper, and I finally bit the bullet a few years ago. My garage bay is my sanctuary now, and it's been a game-changer for my swing (though my score still has its moments).
I'd spent years hitting into a crappy net, convinced I was making progress. Spoiler alert: I wasn't. The moment I started seeing real data – ball speed, launch angle, spin – that's when the lightbulb went off. You don't need to spend $50,000 to get a seriously good setup. But you do need to be smart, and you need to be realistic about what you want to achieve.
My goal was simple: hit balls year-round, understand why my shots went where they did, and maybe even play a virtual round with my buddies. Mission accomplished. But I made a few mistakes along the way, and I'm here to save you some headaches (and some cash).
Space is the Absolute King
Before you even think about launch monitors or projectors, look at your garage. Seriously, go out there with a tape measure. This is the #1 deal-breaker, the non-negotiable.
Here are the minimums, in my opinion, for a comfortable and safe swing:
- Ceiling Height: You need at least 9 feet. I'm 5'10" and swing a driver comfortably in my 10-foot-high garage. Anything less than 9 feet, and you're going to be clipping the ceiling on your follow-through or adjusting your swing, which defeats the purpose. Seriously, swing your driver in your actual space and see where the clubhead goes.
- Width: You want at least 10 feet. My bay is 12 feet wide, and it feels just right. This allows for a centered hitting position and enough buffer on either side for safety. If you're sharing the sim with a lefty, you'll need more like 13-14 feet to shift the mat.
- Depth: You'll need a minimum of 15 feet from the screen to the hitting mat. My space is 20 feet deep, which gives me plenty of room behind the mat for the launch monitor (if it's a floor unit) and a comfortable seating area. If you go too shallow, the projector throw distance becomes an issue, or you feel like you're right on top of the screen.
If you don't meet these minimums, especially ceiling height, just stop. A practice net is your friend. Don't force it, or you'll regret it.
Core Components: Where Your Money Goes
Once you've confirmed you have the space, it's time to break down the actual hardware. Here's a quick overview of the main pieces and what I've learned about each.
| Component | Mack's Pick/Recommendation | Price Range (USD) | Key Considerations |
|---|---|---|---|
| Launch Monitor | Bushnell Launch Pro (BLP) | $2000 - $3500 | Accuracy, subscription, portability, space needs |
| Impact Screen | Carl's Place Premium | $500 - $1500 | Durability, image quality, noise, DIY vs. Pre-built |
| Projector | Optoma GT1080HDR | $700 - $1200 | Short-throw, 1080p, 3000+ lumens, throw ratio |
| Hitting Mat | Fiberbuilt Player Preferred | $300 - $700 | Joint health, realistic feel, durability, size |
| Gaming PC | Custom Build (i5, RTX 3060) | $800 - $1500 | Smooth graphics, data processing, cooling |
| Software | TGC 2019 / E6 Connect | $300 (one-time) + $600 (yearly) / $300 (yearly) | Course selection, game modes, online play |
Let's dive into each one.
Launch Monitor: The Brains of the Operation
This is where you absolutely cannot cheap out. The launch monitor is what gives you the data. Get this wrong, and the whole sim is just an expensive net.
- Overhead vs. Floor: I went with a floor-based unit (Bushnell Launch Pro) because I didn't want to mess with ceiling mounting, and I like that I can take it to the range. Overhead units like the Uneekor EYE XO or Foresight GCHawk are fantastic, but they're significantly more expensive (think $10k+) and require permanent installation. For my budget and skill level, a floor unit was perfect.
- Recommendations:
- Bushnell Launch Pro (BLP): This is my current pick. It's a re-badged Foresight GC3. You can find them for around $2000-$3500, especially if you catch a sale. The data is incredibly accurate – ball speed, club speed, launch angle, spin axis, carry distance. Here's the rub: It needs a subscription to unlock all features, including simulator play. A basic plan is around $250/year, but for full sim access, it's closer to $500-$700/year. Don't forget that.
- SkyTrak: I started with a SkyTrak (around $1995 when I bought it). It's great value for the money, especially for iron play. The subscription model is similar to BLP. My main gripe was the slight delay between hitting and seeing the shot, and sometimes it struggled with really high ball speeds (my driver swings). Still, a solid choice for a sub-$2k unit.
- Garmin Approach R10 / FlightScope Mevo+ / Rapsodo MLM2Pro: These are more budget-friendly ($600-$2000), but they're radar-based, meaning they need more space behind the ball (8-10 ft) and can be less accurate on spin numbers indoors. The MLM2Pro is a strong contender in this category, especially for the price, but again, check the subscription costs, as they can add up. They're great for casual practice, but if you're serious about dialling in your wedges, you might want optical.
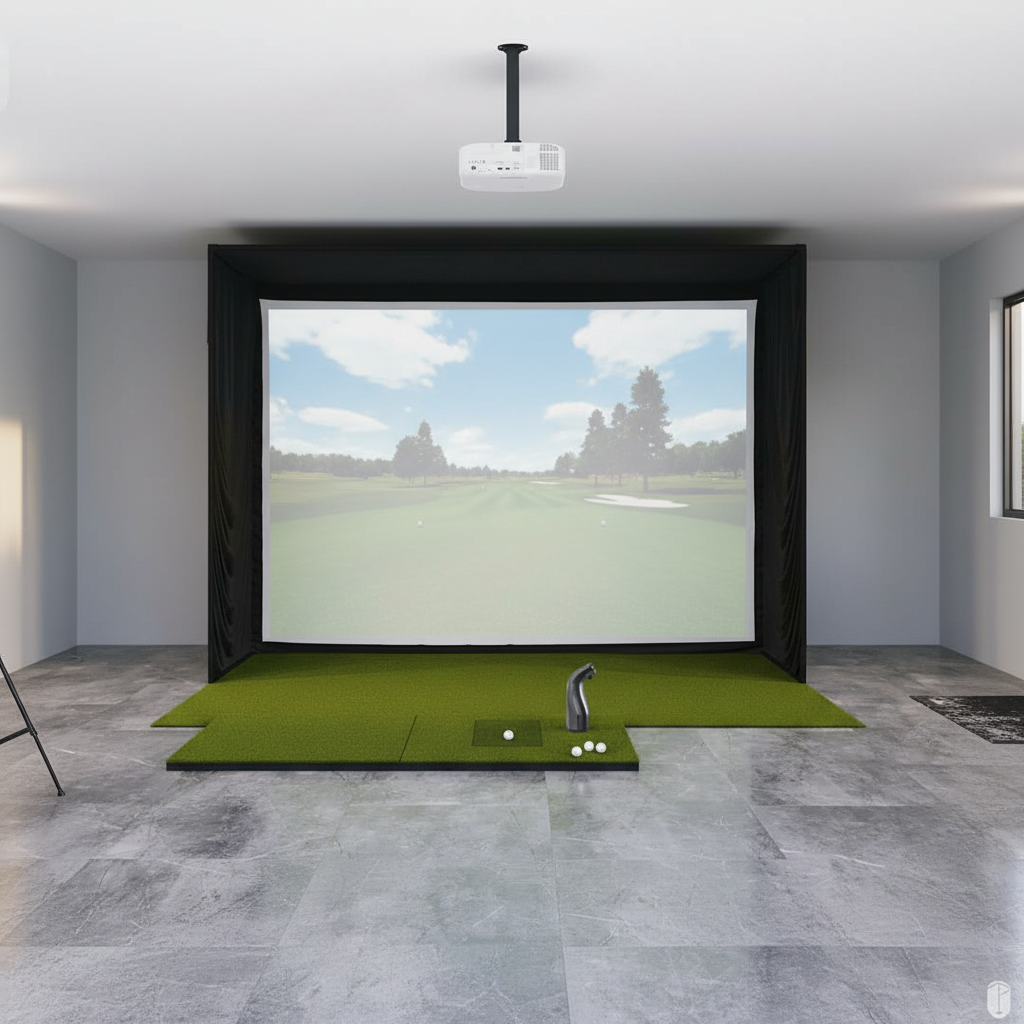
Impact Screen & Enclosure: Catching Balls and Projecting Dreams
This is where you'll be hitting thousands of balls, so don't skimp on quality.
- The Screen: I went with a custom screen from Carl's Place (Premium material), which cost me about $500 for a 10x8 foot screen. The "Premium" material holds up well and projects a good image. Don't just buy a cheap tarp or a bedsheet; you'll destroy it and the image will look awful. Some cheaper screens can also be loud, like a gunshot with every drive.
- The Enclosure: I built a DIY frame out of EMT conduit and fittings from a local hardware store. This saved me a ton compared to pre-built enclosures (which can run $2000-$4000+). My DIY frame cost me around $300 in materials. Just make sure it's sturdy and has enough padding around the edges to prevent ricochets. My mistake was not padding the top enough initially – a few shanks off the top bar reminded me quickly.
- Retractability: I considered a retractable system for a bit, but the cost and complexity were too much for my budget and DIY skills. If you need to use your garage for other things regularly, look into motorized screens, but be prepared to pay $3000+ for a decent one.
Projector: Making it Look Good
This is the eye candy. You want a clear, bright image.
- Short-Throw is a Must: You absolutely need a short-throw projector. This means it can project a large image from a short distance, keeping it out of